OEM Baby Toys: Complete Guide for International Brands
For international baby brands, launching a new toy line is equal parts excitement and risk. The product needs to be safe, compliant, visually distinctive, and commercially viable — all while hitting a specific price point and launch window. This is where OEM (Original Equipment Manufacturing) becomes the strategic backbone of successful baby product launches. OEM baby toys allow brands to leverage specialized manufacturing expertise, advanced tooling, and established compliance pathways without building their own factory.
But OEM is not simply "send a sketch, receive a container." It is a structured, multi-stage process that demands careful oversight at every step. A misstep in material selection can lead to failed safety tests six months later. A flaw in mold design can cause production defects that only surface after thousands of units have shipped. For international brands navigating cross-border manufacturing, understanding each stage of the OEM process is not optional — it is the difference between a product that passes certification on the first attempt and one that faces costly delays, reworks, or even recalls.
This guide walks through the complete OEM baby toy manufacturing process — from initial concept to mass production — explaining what happens at each stage, what brands should expect, and where the critical decision points lie.
What OEM Means for Baby Toy Brands
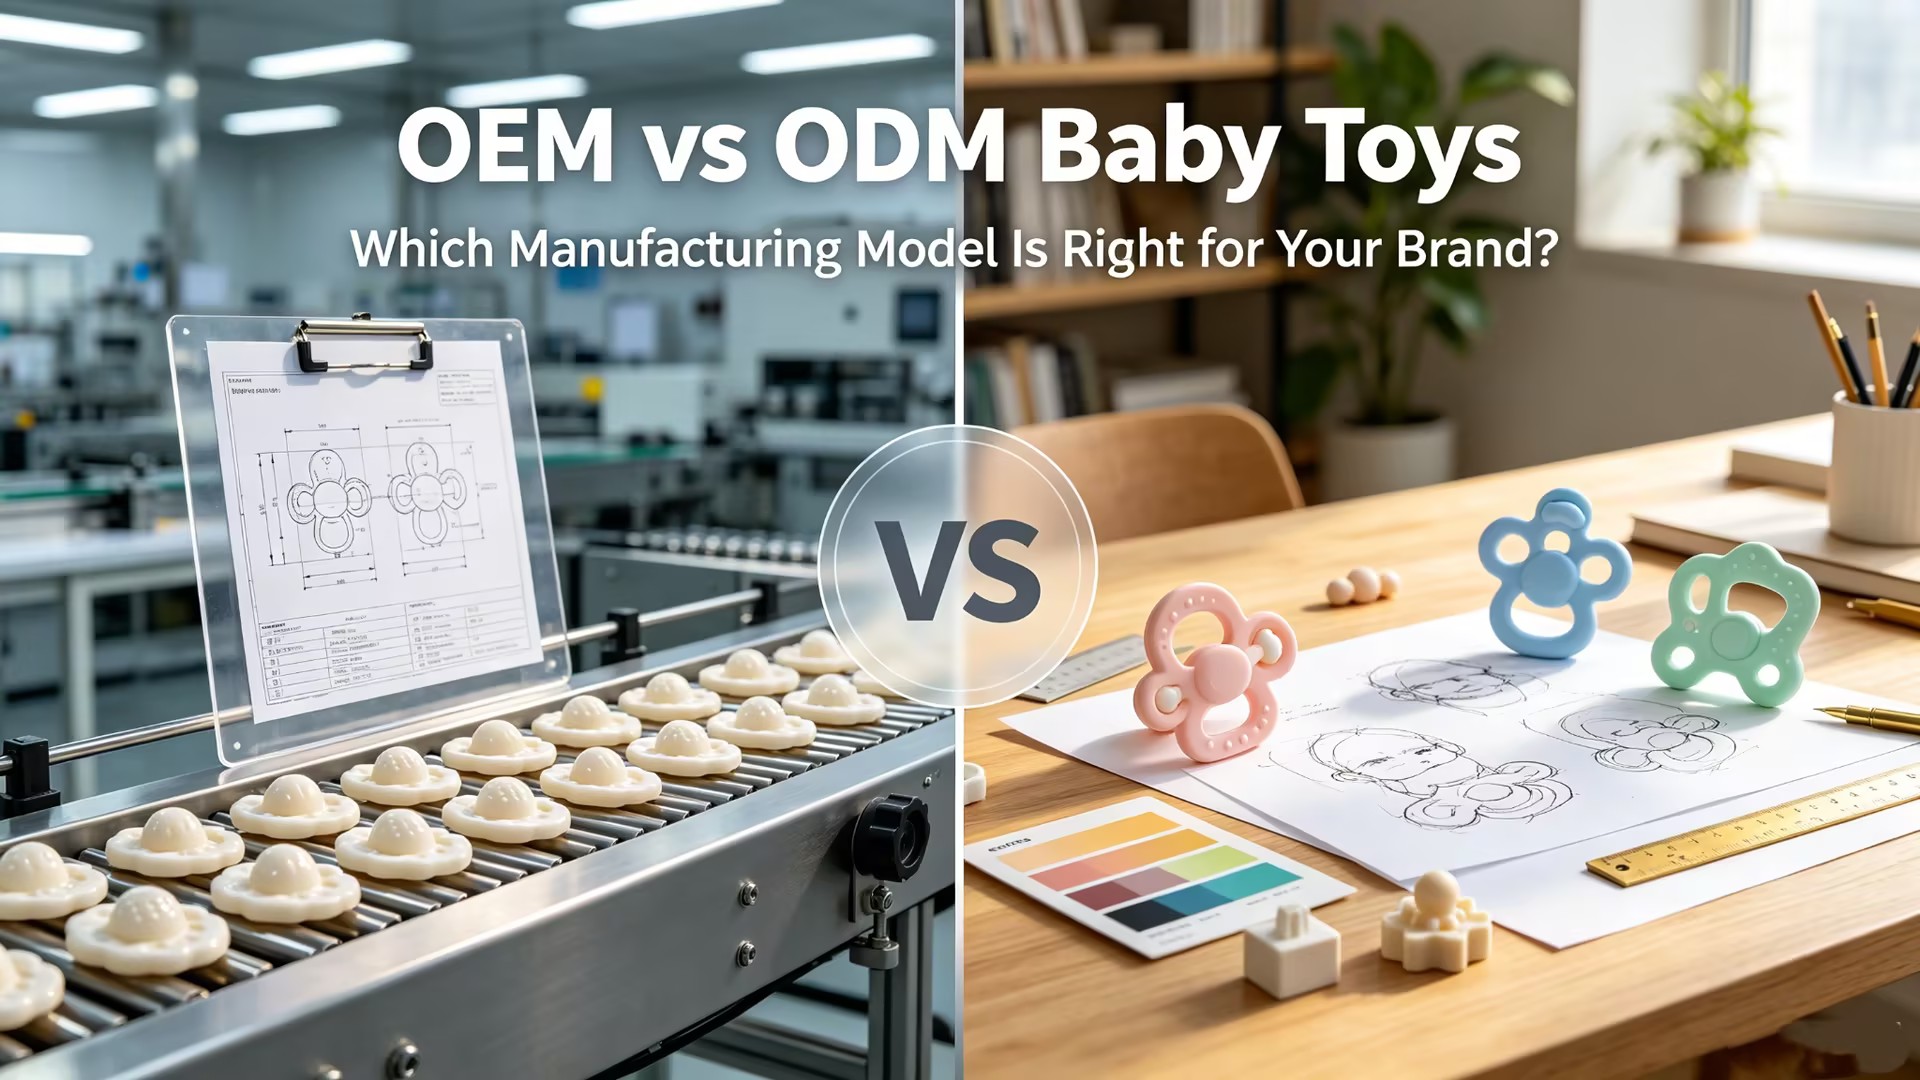
Before diving into the process, it is worth clarifying what OEM means in the baby toy context. In an OEM arrangement, the brand (you) provides the product concept, design specifications, and branding requirements, while the manufacturer handles the physical production — including material sourcing, mold making, production, quality control, and packaging assembly. The finished product carries your brand name and is sold as your own.
This differs from ODM (Original Design Manufacturing), where the manufacturer designs the product and you brand it. OEM gives you full creative control — the product is uniquely yours — but it also means you bear more responsibility for design decisions and their downstream consequences.
For baby toys specifically, OEM carries additional weight because of the regulatory environment. Baby products are among the most heavily regulated consumer goods in the world, with different standards in every major market. A capable OEM partner does not just manufacture — they guide you through compliance, testing, and certification for your target markets.
The 9-Step OEM Baby Toy Manufacturing Process
Step 1: Concept Development
Every OEM baby toy begins as an idea. Concept development is the stage where that idea takes tangible shape through research, brainstorming, and definition. This is arguably the most important stage because every downstream decision — design, material, mold, testing — flows from the concept.
A strong concept answers several critical questions. Who is the target user? A teether for a 3-month-old has fundamentally different requirements than an educational toy for a 2-year-old. What problem does the product solve? Is it soothing sore gums, stimulating sensory development, making bath time more engaging, or supporting fine motor skills? What is the desired price point and retail channel? A premium boutique product and a mass-market retail item require different design and material approaches.
At this stage, brands should also conduct preliminary market and competitive research. What similar products exist? What are their strengths and weaknesses? What gaps in the market can this product fill? This research informs the concept and helps ensure the final product has a clear value proposition.
The output of concept development is typically a concept brief that includes the product idea, target audience, key features, desired materials (if known), aesthetic direction, and any functional requirements. This brief becomes the foundation for everything that follows.
Step 2: Design and Engineering
With a clear concept in hand, the next step is design and engineering. This is where the idea becomes a precise, manufacturable specification. For baby toys, design is not just about aesthetics — it must account for safety, ergonomics, durability, and manufacturing feasibility.
The design process typically begins with sketching and 2D renderings. These explore form, proportion, color, and visual character. For animal-shaped toys — a perennial favorite in the baby category — this stage defines the character's expression, body shape, and proportions. Once a direction is chosen, the design moves to 3D modeling using software such as SolidWorks, Rhino, or ZBrush.
3D modeling is where engineering considerations come to the forefront. The model must account for wall thickness (too thin and the product tears; too thick and it becomes rigid and heavy), draft angles for mold release, parting line placement, and surface texture. For natural rubber toys produced via dipping molding, the design must also account for the coating process — how the latex flows over the mold, how thickness is controlled, and how the piece is demolded without tearing.
Safety engineering is embedded in this stage. The design must eliminate small parts that could detach and pose a choking hazard. Edges must be rounded and smooth. Holes and openings must be sized to prevent finger entrapment. For bath toys, the design must ensure a sealed, watertight construction that prevents mold growth inside. For teethers, the shape must be easy for small hands to grasp and safe for oral use.
The output of this stage is a finalized 3D model with engineering drawings, material specifications, color references (typically Pantone or RAL values), and surface finish requirements. This package is what the manufacturer uses to create the mold.
Step 3: Material Selection
Material selection is one of the most consequential decisions in OEM baby toy manufacturing. The material determines not just the product's feel and appearance, but its safety profile, compliance pathway, durability, and cost. For baby toys — products that go directly into a child's mouth — material selection is non-negotiably serious.
The primary materials used in baby toy manufacturing are natural rubber (latex), silicone, and various plastics (ABS, PP, TPE). Each has distinct properties and tradeoffs.
Natural rubber, derived from the sap of Hevea brasiliensis trees, is the premium choice for many baby toy categories. It is biodegradable, naturally elastic, soft and warm to the touch, and free from BPA, PVC, and phthalates. Its natural antibacterial properties are an added benefit. Natural rubber is particularly well-suited for teethers, bath toys, and sensory toys where softness and elasticity are valued. Explore how organic natural latex teethers are crafted from 100% pure certified latex to understand the material quality standards that define premium OEM baby toys. Discover the remarkable journey of natural rubber from tree to toy to understand why this material resonates so strongly with conscious consumers.
Silicone is a synthetic material that is also widely used in baby products. It is durable, heat-resistant, dishwasher-safe, and available in a wide range of colors. However, it is not biodegradable and has a firmer, less yielding texture than natural rubber.
Plastics such as ABS and PP are used for more rigid toys, educational toys, and components. They are durable and inexpensive but lack the soft, natural feel of rubber or silicone. When used in baby products, they must be food-grade and free from harmful additives.
For natural rubber toys specifically, material quality is paramount. The latex should be sourced from certified, sustainably managed plantations. The compounding process — where the latex is mixed with vulcanizing agents, pigments, and other necessary additives — must be carefully controlled to ensure consistency and safety. Food-grade pigments should be used for any colored elements. The ammonia content in concentrated latex must be properly managed during pre-processing to avoid adverse effects on the final product. Learn more about the latex production process and pre-processing requirements to understand the technical details of material preparation.
The output of material selection is a formal material specification sheet that includes the material type, source, grade, color references, and any specific performance requirements (hardness in Shore A, tensile strength, elongation at break, etc.).
Step 4: Mold Making
Mold making is where the digital design becomes a physical tool that will produce thousands — or hundreds of thousands — of units. The quality of the mold directly determines the quality of the final product, so this stage demands precision and expertise.
For natural rubber baby toys produced via dipping molding, the mold is typically made from metal (aluminum or stainless steel) or sometimes from ceramic or plaster for specific applications. The mold is created using CNC machining based on the 3D model. The machining process must achieve high precision — surface smoothness, dimensional accuracy, and proper draft angles are all critical.
The mold design must account for several factors. The parting line — where the two halves of the mold meet — must be placed in a location that minimizes visual impact on the final product and does not create a sharp edge. Venting channels must be designed to allow air to escape during the molding process, preventing bubbles and incomplete filling. For dipping molds, the shape must allow the latex to flow evenly and the coated piece to be demolded without tearing.
Mold making typically takes 2–4 weeks depending on complexity. Simple ring teethers may have relatively straightforward molds, while complex animal shapes with fine details require more intricate tooling. Some manufacturers offer 3D-printed prototype molds for initial testing before committing to the final production mold, which can save time and cost if design changes are needed.
Once the mold is complete, it is tested with a trial run (often called a "first shot" or "T0 sample") to verify that the mold produces the desired shape, that demolding works correctly, and that there are no defects such as flash (excess material at the parting line), bubbles, or surface imperfections. Any issues identified at this stage are corrected by modifying the mold before proceeding.
Step 5: Prototype Development
Prototype development is the stage where you see and touch your product for the first time. A prototype is a pre-production sample that allows you to evaluate the design, material, functionality, and aesthetics before committing to mass production.
For baby toys, prototypes serve several critical purposes. First, they allow you to verify the design in physical form — does it look right? Does it feel right? Is the size appropriate for the target age group? Second, they allow functional testing — does the teether provide the right gum resistance? Does the bath toy float and seal properly? Does the sensory toy produce the desired tactile feedback? Third, prototypes can be used for preliminary safety assessments and user testing with parents and babies.
There are several types of prototypes. A visual prototype (often 3D-printed) is used to evaluate form and aesthetics but may not be made from the final material. A functional prototype is made from the same or similar material and is used to test performance. A pre-production prototype is made using the actual production mold and material and represents what the final product will be.
For natural rubber toys, prototype development is particularly important because the material's behavior — how it flows during dipping, how it cures, how it feels after vulcanization — can be difficult to fully predict from digital models alone. The prototype stage allows you to verify that the material performs as expected and that the final product meets your quality standards.
At this stage, it is common to identify design adjustments. Perhaps the wall thickness needs to be modified for better elasticity. Maybe a surface texture needs adjustment. Or the color needs fine-tuning. These changes are relatively inexpensive to implement at the prototype stage — far cheaper than modifying a production mold or, worse, discovering issues after mass production has begun.
Step 6: Sample Approval
Sample approval is the formal gate between development and production. Once the prototype has been refined and any design changes have been incorporated, the manufacturer produces a final pre-production sample (or "golden sample") that represents the exact product to be manufactured. This sample is sent to the brand for formal approval.
The golden sample should be evaluated against every criterion in the product specification: dimensions, weight, color, surface finish, material properties, functionality, and branding elements (logo embossing, etc.). It is advisable to create a detailed checklist and evaluate the sample systematically rather than relying on visual inspection alone.
For baby toys, the sample approval stage should also include a preliminary safety review. While formal third-party testing comes later, the sample should be evaluated against basic safety criteria: no small parts that could detach, no sharp edges or points, appropriate size to prevent choking, proper ventilation holes on pacifiers, and sealed construction on bath toys.
Once the brand approves the golden sample, it becomes the reference standard for mass production. Both the brand and the manufacturer should retain a signed, dated sample for comparison during production and for resolving any quality disputes later. The approved sample is what the manufacturer will use to set up production lines and train workers.
It is important to note that sample approval is not the end of the development process. The approved sample still needs to pass formal safety testing and certification before it can be legally sold in most markets. The sample approval simply confirms that the product meets the brand's design and quality specifications.
Step 7: Testing and Certification
Testing and certification is the stage that separates compliant baby toys from products that cannot legally be sold. For international brands, this is arguably the most critical stage — a product that fails testing cannot be shipped, and the cost of re-testing, reworking, and delayed launch can be substantial.
Baby toys are subject to different regulations depending on the target market. In the United States, the Consumer Product Safety Improvement Act (CPSIA) requires third-party testing by a CPSC-accepted laboratory for all children's products. The primary toy safety standard is ASTM F963, which covers physical and mechanical properties, flammability, and the migration of certain elements (heavy metals). Additional requirements include lead content limits, phthalate restrictions, and tracking label requirements.
In the European Union, the Toy Safety Directive (2009/48/EC) requires compliance with the EN 71 series of standards. EN 71 Part 1 covers mechanical and physical properties, Part 2 covers flammability, Part 3 covers the migration of certain elements, and Part 9 covers organic chemical compounds. CE marking is required, and a Declaration of Conformity must be issued. The REACH regulation also restricts the use of certain hazardous chemicals.
For products intended for oral use — teethers and pacifiers — additional standards apply. In the US, FDA 21 CFR regulations cover materials that come into contact with food or are intended for oral use. Pacifiers are specifically regulated under 16 CFR Part 1511, which covers nipple strength, shield ventilation, and labeling requirements.
The testing process typically involves sending samples to an accredited third-party laboratory such as SGS, Intertek, TÜV, or Bureau Veritas. The laboratory conducts the required tests and issues a test report. If the product passes, the brand can use the report to demonstrate compliance and apply for any required certifications or marks. If the product fails, the cause must be identified and corrected — this may involve material changes, design modifications, or production process adjustments — and the product must be re-tested.
A reputable OEM manufacturer will have in-house quality control facilities for pre-testing and will work with accredited laboratories for formal certification. They should be able to guide you through the testing requirements for your specific product and target markets, and they should have a track record of successfully passing tests for similar products. Explore how a trusted manufacturer implements uncompromising quality and safety assurance with in-house QC labs and international certifications.
Step 8: Packaging Design and Production
Packaging is often an afterthought in OEM planning, but it is a critical component of the product's success. Packaging serves multiple functions: it protects the product during shipping and storage, it communicates brand identity and product information at the retail shelf, it must comply with regulatory labeling requirements, and it influences the consumer's perception of quality.
For baby toys, packaging design should begin early in the OEM process, not after the product is finalized. The packaging dimensions must accommodate the product, and the packaging format (box, blister pack, hang tag, poly bag) must be chosen based on the product type, retail channel, and brand positioning.
Common packaging options for baby toys include:
- Retail boxes — paperboard or corrugated boxes that fully enclose the product, with windows to display the product or full-color printing. Boxes offer the most space for branding and product information and provide good protection.
- Blister packs — a clear plastic blister sealed to a paperboard card. Blister packs allow the product to be fully visible, which is advantageous for toys where design is a key selling point. However, they are less eco-friendly and can be difficult to open.
- Hang tags — a paper or cardstock tag attached to the product with a string or plastic tie. Hang tags are cost-effective and eco-friendly but offer limited space for information and minimal protection.
- Kraft paper packaging — uncoated kraft paper boxes or sleeves with soy-based inks, popular for natural and eco-focused brands. Kraft packaging aligns well with the natural rubber material story.
- Gift packaging — premium boxes with custom inserts, ribbon, and special finishes, used for gift sets and premium positioning.
Regulatory labeling requirements must be incorporated into the packaging design. These typically include: product name and description, manufacturer or importer information, country of origin, age grading (e.g., "0+ months" or "3+"), choking hazard warnings where applicable, material composition, safety certifications and marks (CE, ASTM, etc.), tracking label information (for US market), and any required warning statements.
The packaging production process typically involves creating packaging dielines (templates), designing the artwork, producing printing plates or digital files, and running a packaging sample for approval before mass production. The packaging sample should be evaluated alongside the product to ensure proper fit, alignment, and visual presentation.
Step 9: Mass Production and Quality Control
Mass production is the final stage of the OEM process — and the stage where all the planning, design, and testing come to fruition. Once the golden sample is approved, testing is passed, and packaging is finalized, the manufacturer sets up the production line and begins manufacturing.
For natural rubber baby toys, the production process typically involves several stages:
- Material preparation — the natural latex is compounded with vulcanizing agents, pigments, and other additives according to the approved formulation. The compound is filtered and degassed to remove impurities and air bubbles.
- Molding — for dipping molding, the clean molds are dipped into the latex compound repeatedly to build up the desired thickness. Each dip is followed by a drying period. For compression molding or injection molding (used for some toy types), the material is placed in the mold cavity and cured under heat and pressure.
- Vulcanization — the molded pieces are placed in a vulcanization oven (typically 120–140°C for 20–30 minutes) to cure the rubber, enhancing its durability, elasticity, and stability.
- Demolding and trimming — after cooling, the pieces are removed from the molds and any excess material (flash) is trimmed.
- Surface finishing — any required surface treatments, such as polishing or texturing, are applied.
- Washing and drying — the finished toys are washed to remove any residual chemicals or surface contaminants, then thoroughly dried.
- Inspection — each piece is visually inspected for defects (bubbles, tears, discoloration, mold imperfections, dimensional deviations).
- Packaging — the approved products are packaged according to the approved packaging design.
Quality control during mass production is not a single checkpoint — it is a continuous process that occurs at every stage. Raw materials are inspected upon receipt. In-process inspections monitor critical parameters such as molding temperature, dipping cycles, vulcanization time and temperature, and dimensional accuracy. Finished products undergo comprehensive inspection before packaging. And random samples are pulled from production batches for additional testing and comparison against the golden sample.
A well-implemented QC system follows statistical process control (SPC) principles, using sampling plans (such as AQL — Acceptable Quality Limit) to determine the appropriate sample size and acceptance criteria for each batch. This ensures that quality is maintained consistently across the entire production run, not just in the first few units.
For international brands, it is advisable to conduct independent quality inspections — either by sending your own QC personnel to the factory or by hiring a third-party inspection service (such as SGS or Intertek) to conduct pre-shipment inspections. These inspections verify that the mass-produced products match the approved golden sample and meet your quality standards before the goods are shipped.
Timeline and Cost Considerations
A typical OEM baby toy development cycle runs 3–6 months from concept to first shipment: concept (1–2 weeks), design and engineering (2–4 weeks), mold making (2–4 weeks), prototype and refinement (2–4 weeks), sample approval (1–2 weeks), testing and certification (2–6 weeks), packaging (2–4 weeks, often overlapping with testing), mass production (3–6 weeks), and shipping (2–6 weeks).
Costs include one-time mold/tooling fees ($500–$5,000 depending on complexity), prototype and sample costs, testing and certification fees ($500–$3,000 per market/test suite), packaging design and tooling, and per-unit production costs. Natural rubber baby toys typically range from $1–$8 per unit at wholesale. MOQ for OEM baby toys usually starts at 500–1,000 pieces for standard designs and 1,000–3,000 for custom designs requiring new molds.
How to Choose the Right OEM Baby Toy Manufacturer
The success of an OEM baby toy project depends heavily on the manufacturer. Key factors to evaluate:
Experience and specialization. Look for a manufacturer with proven experience in baby toys specifically — not just general toy manufacturing. Baby products have unique safety, material, and compliance requirements. Learn what makes a reliable OEM natural rubber baby toys manufacturer and why specialization matters.
In-house capabilities. A manufacturer handling R&D, design, mold making, production, QC, and packaging in-house offers better consistency and fewer handoff points where details can be lost.
Compliance track record. Ask for current test reports from accredited laboratories for ASTM F963, EN 71, CPSIA, REACH, and FDA 21 CFR. A manufacturer that can produce valid, current documentation takes compliance seriously.
Quality control systems. Inquire about in-house testing facilities, inspection protocols, and defect rates. A formal QC system with documented processes is far more reliable than visual inspection alone.
Communication and responsiveness. Evaluate response speed, thoroughness of answers, and whether English-speaking staff can communicate clearly about technical details.
Production capacity. Confirm the manufacturer can handle your volume within your timeline. Ask about current backlog, maximum monthly output, and typical lead times.
References. Request references from other baby brands and contact them to learn about their experience with quality, communication, on-time delivery, and issue resolution.
Final Thoughts
OEM baby toy manufacturing is a complex, multi-stage process that demands careful planning, clear communication, and rigorous oversight at every step. Each stage builds on the previous one — and a problem at any stage can cascade into costly delays, quality issues, or compliance failures downstream.
For international brands, success hinges on three things: understanding the process so you can ask the right questions, choosing a manufacturer with the expertise and quality systems to deliver, and maintaining active oversight from concept to pre-shipment inspection.
Natural rubber baby toys represent a particularly attractive OEM category because of the material's unique safety, sustainability, and sensory benefits. As consumer demand for natural, eco-friendly baby products continues to grow, brands that deliver high-quality, compliant, beautifully designed natural rubber toys through a well-managed OEM process are well-positioned to capture market share.
Understand why natural rubber baby toys are becoming the future of safe parenting choices and how the material shift is creating new opportunities for OEM baby toy brands.
If you are an international brand considering an OEM baby toy project, the best first step is to reach out to a specialized manufacturer with your concept brief. A capable partner will guide you through each stage, help avoid common pitfalls, and ensure your product is safe, compliant, and market-ready.
Private Label Baby Toys: How to Build Your Own Product Line
Wholesale Natural Rubber Baby Toys for Retailers & Baby Brands