Custom Natural Rubber Baby Toys: From Product Idea to Mass Production
Every custom baby toy starts the same way: an idea. Maybe it is a giraffe-shaped teether that doubles as a rattle. Maybe it is a bath toy set built around your brand's animal characters. Maybe it is a sensory ball with a texture pattern no one else has. The idea is the easy part. Turning that idea into a safe, certified, mass-produced natural rubber toy — that is where most brands get stuck.
Custom natural rubber baby toys follow a specific manufacturing path, and every step affects your cost, your timeline, and your final product quality. Skip a step and you risk a safety failure. Rush a step and you pay for it in defects. Understand the path, though, and you can plan your launch with real numbers instead of guesses.
This guide walks through the full custom production process — from product idea to mass production — and shows you exactly what you can customize at each stage: shape, texture, color, logo, and packaging.
The Custom Production Process, Step by Step
Ten steps stand between a sketch on a napkin and a shipping container full of finished toys. Some take days, some take weeks, and a few cost real money. Here is what happens at each one.
Product Idea
The first step is not drawing. It is defining what you are actually making. A clear product idea answers three questions: who is this for (age range), what does it do (teether, bath toy, sensory toy, rattle), and what problem does it solve? For baby toys, safety is baked into the idea from day one — age grading determines everything from size (choking hazard rules for under-3s) to texture hardness to whether small parts are allowed at all.
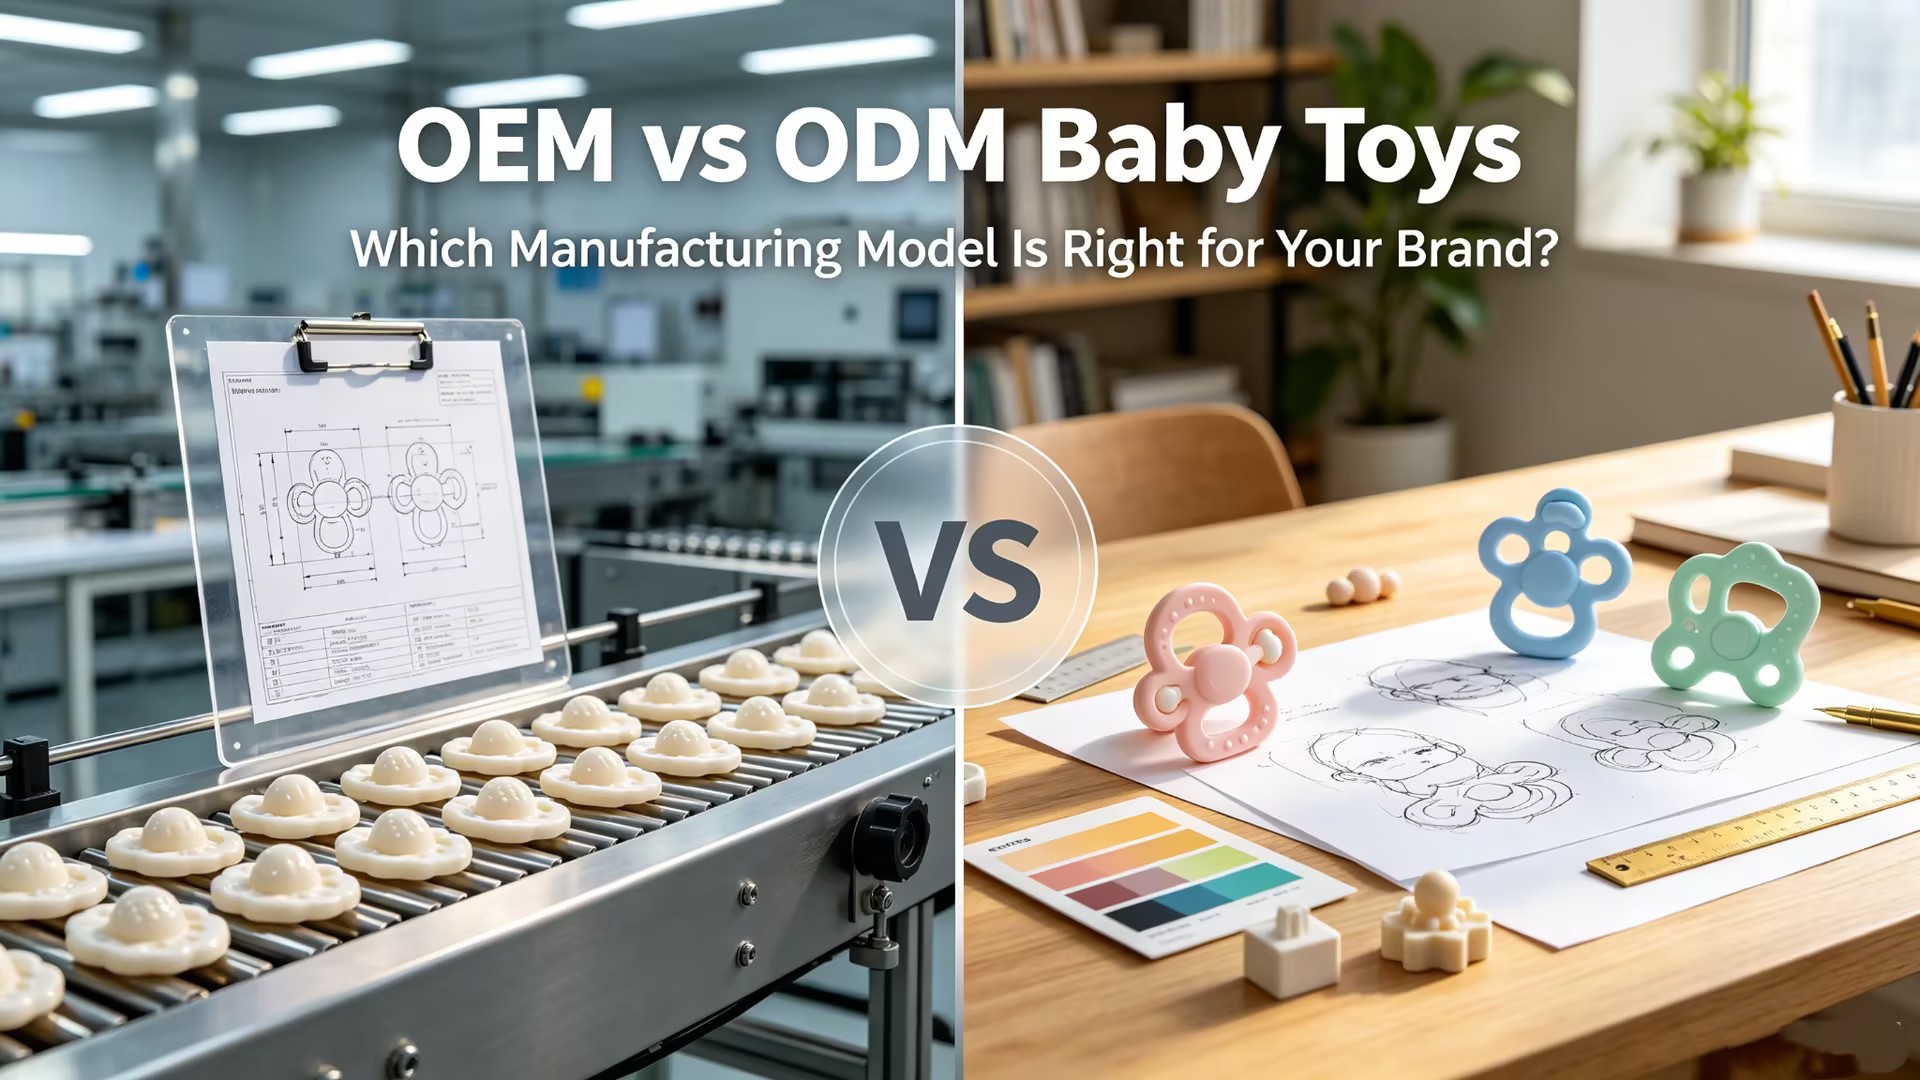
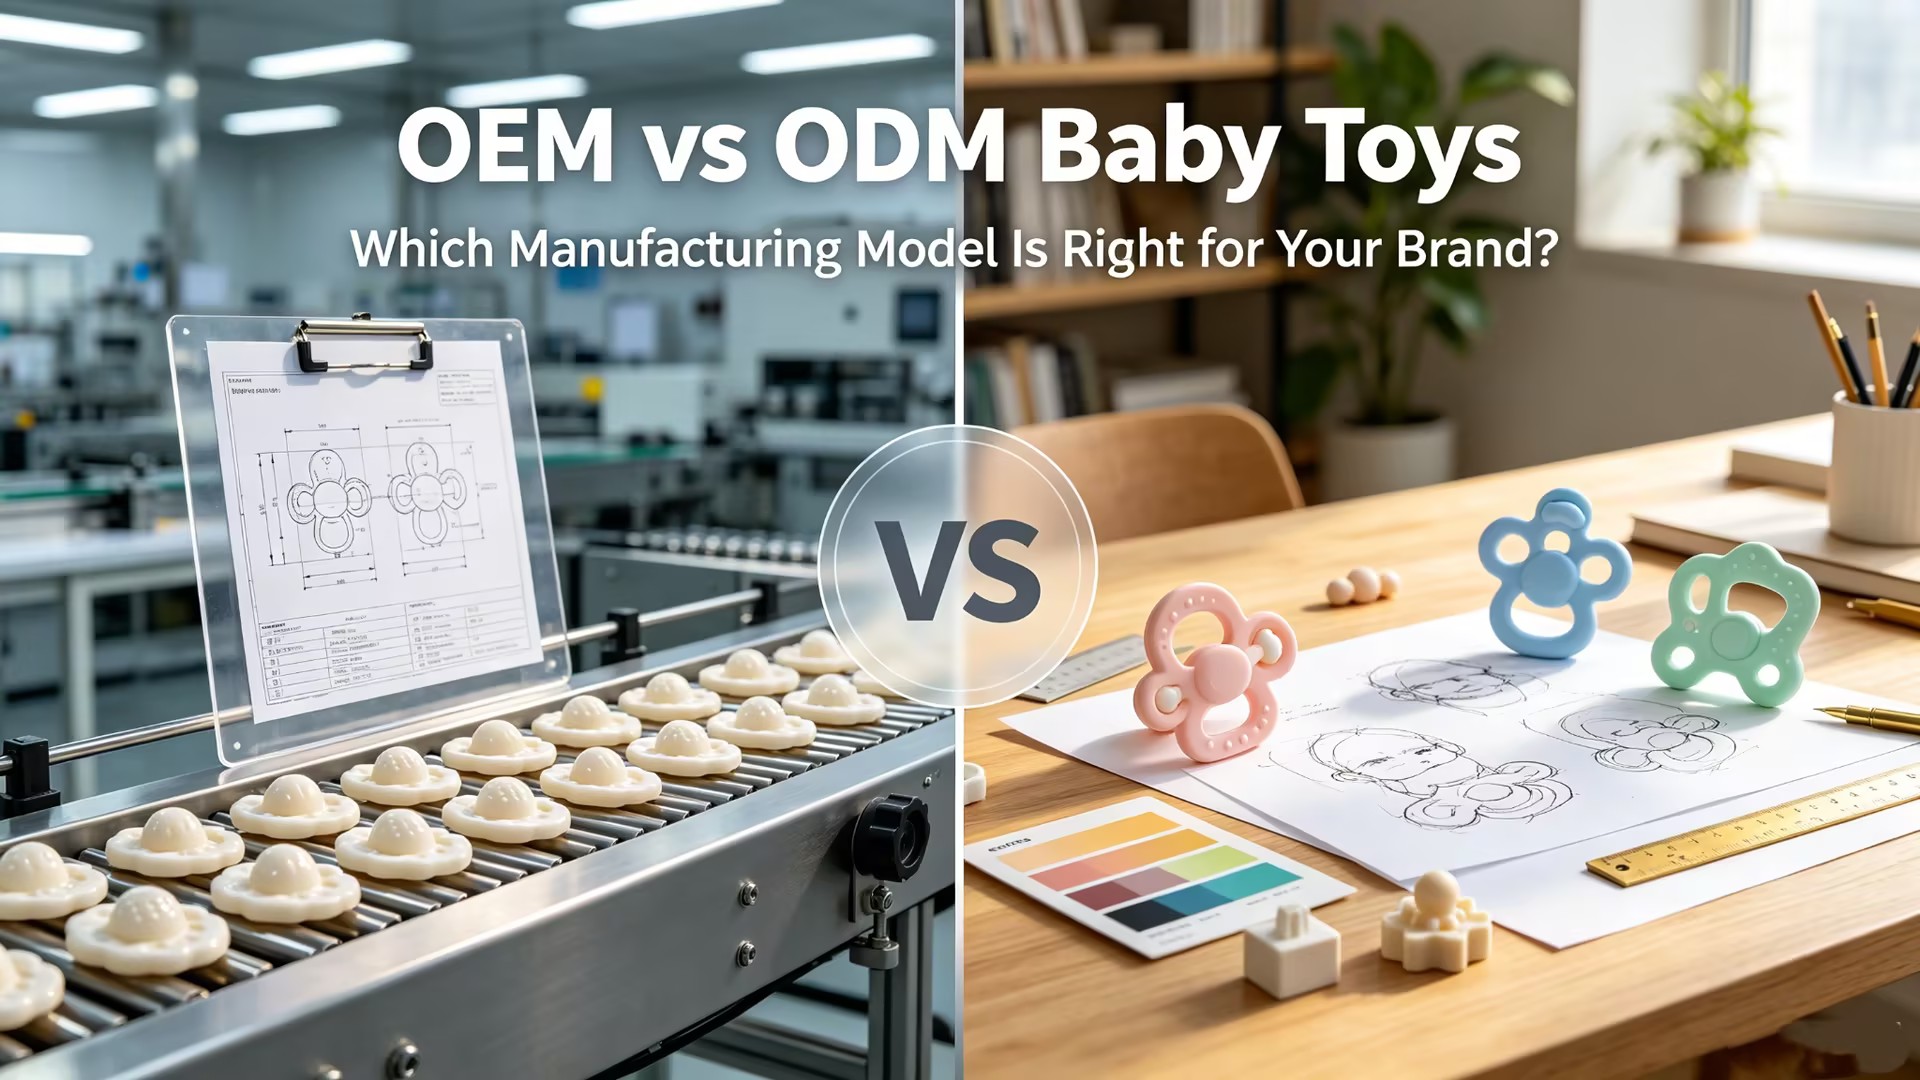
This is also where you decide whether you need fully custom OEM production or whether an ODM base with customization is enough. If your idea is a brand-new shape, you need OEM. If you can adapt an existing design with your colors and logo, ODM gets you to market faster and cheaper. Our guide to OEM vs ODM baby toys breaks down that decision in detail, including how each model affects mold cost, lead time, and minimum order quantity.
Before moving to design, do a quick competitive check. Search Amazon and your target retail channels for similar products. Note what shapes are already saturated, what price points dominate, and where there are gaps. A custom giraffe teether in a market full of giraffe teethers is a harder sell than a custom shape no one else offers. This step costs nothing and can save you from investing in a mold for a product that has no clear point of difference.
Design
Once the idea is clear, design turns it into something a factory can build. This means technical drawings with dimensions, wall thickness, parting line placement, and ergonomic shaping for small hands. For baby toys, design is not just aesthetics — it is safety engineering.
A good designer considers: no sharp edges or points, no small detachable parts for toys aimed at under-3s, appropriate sizing for mouth contact (too small is a choking risk, too large is uncomfortable), surface smoothness, and developmental appropriateness. A teether for a 4-month-old needs different flexibility and size than a bath toy for an 18-month-old.
Design also determines how difficult the mold will be to make. Undercuts, complex textures, and moving parts all add mold complexity and cost. A designer who understands natural rubber manufacturing will simplify where possible without sacrificing your vision.
On the safety side, there are specific engineering checks your design must pass. For toys aimed at children under 3, any detachable part must not fit through a small parts cylinder (a standardized test tube 1.25 inches in diameter and 2.25 inches deep). The toy itself must not present a strangulation or entrapment risk, and any holes or openings must meet size requirements to prevent finger entrapment. Age grading is not a marketing choice — it is a regulatory classification that determines which physical and mechanical tests apply. Getting this wrong at the design stage means reworking the mold later, which is expensive and delays your launch.
Material
Natural rubber baby toys are made from latex sap tapped from Hevea brasiliensis trees. For custom production, the material specification is locked in at this stage: 100% food-grade natural latex, filtered to remove impurities, mixed with non-toxic vulcanizing agents free of BPA, PVC, and phthalates.
The key material decision is hardness, measured in Shore A. A soft teether might be Shore A 30–40; a firmer bath toy could be Shore A 50–60. Hardness affects how the toy feels, how it performs under chewing, and how it demolds from the mold. You also specify whether you want organic-certified latex (higher cost, stronger marketing story) or standard food-grade natural latex.
Material choice directly impacts your safety testing requirements and your per-unit cost. For a full look at how latex sap becomes a finished toy — from tapping to compounding to curing — our manufacturing walkthrough follows the journey from tree to toy.
3D Model
With design and material locked, the next step is a 3D digital model. This is the CAD file that will drive mold making, and it is where dimensional accuracy gets verified. The 3D model shows wall thickness, parting lines, draft angles (needed for clean demolding), and any texture surfaces.
For custom natural rubber baby toys, the 3D model is especially important because dipped molding and compression molding both rely on precise mold geometry. A model with insufficient draft angle will cause the toy to tear during demolding. A model with uneven wall thickness will cause curing inconsistencies and warping.
This is also where you can see a digital rendering of your product before any physical mold is cut. Many brands use this stage to iterate on shape and proportions — it is far cheaper to adjust a 3D file than to re-cut a mold. Our natural latex sensory car toy for toddlers is an example of how a custom 3D model translates into a finished product with distinct shape and texture.
Mold
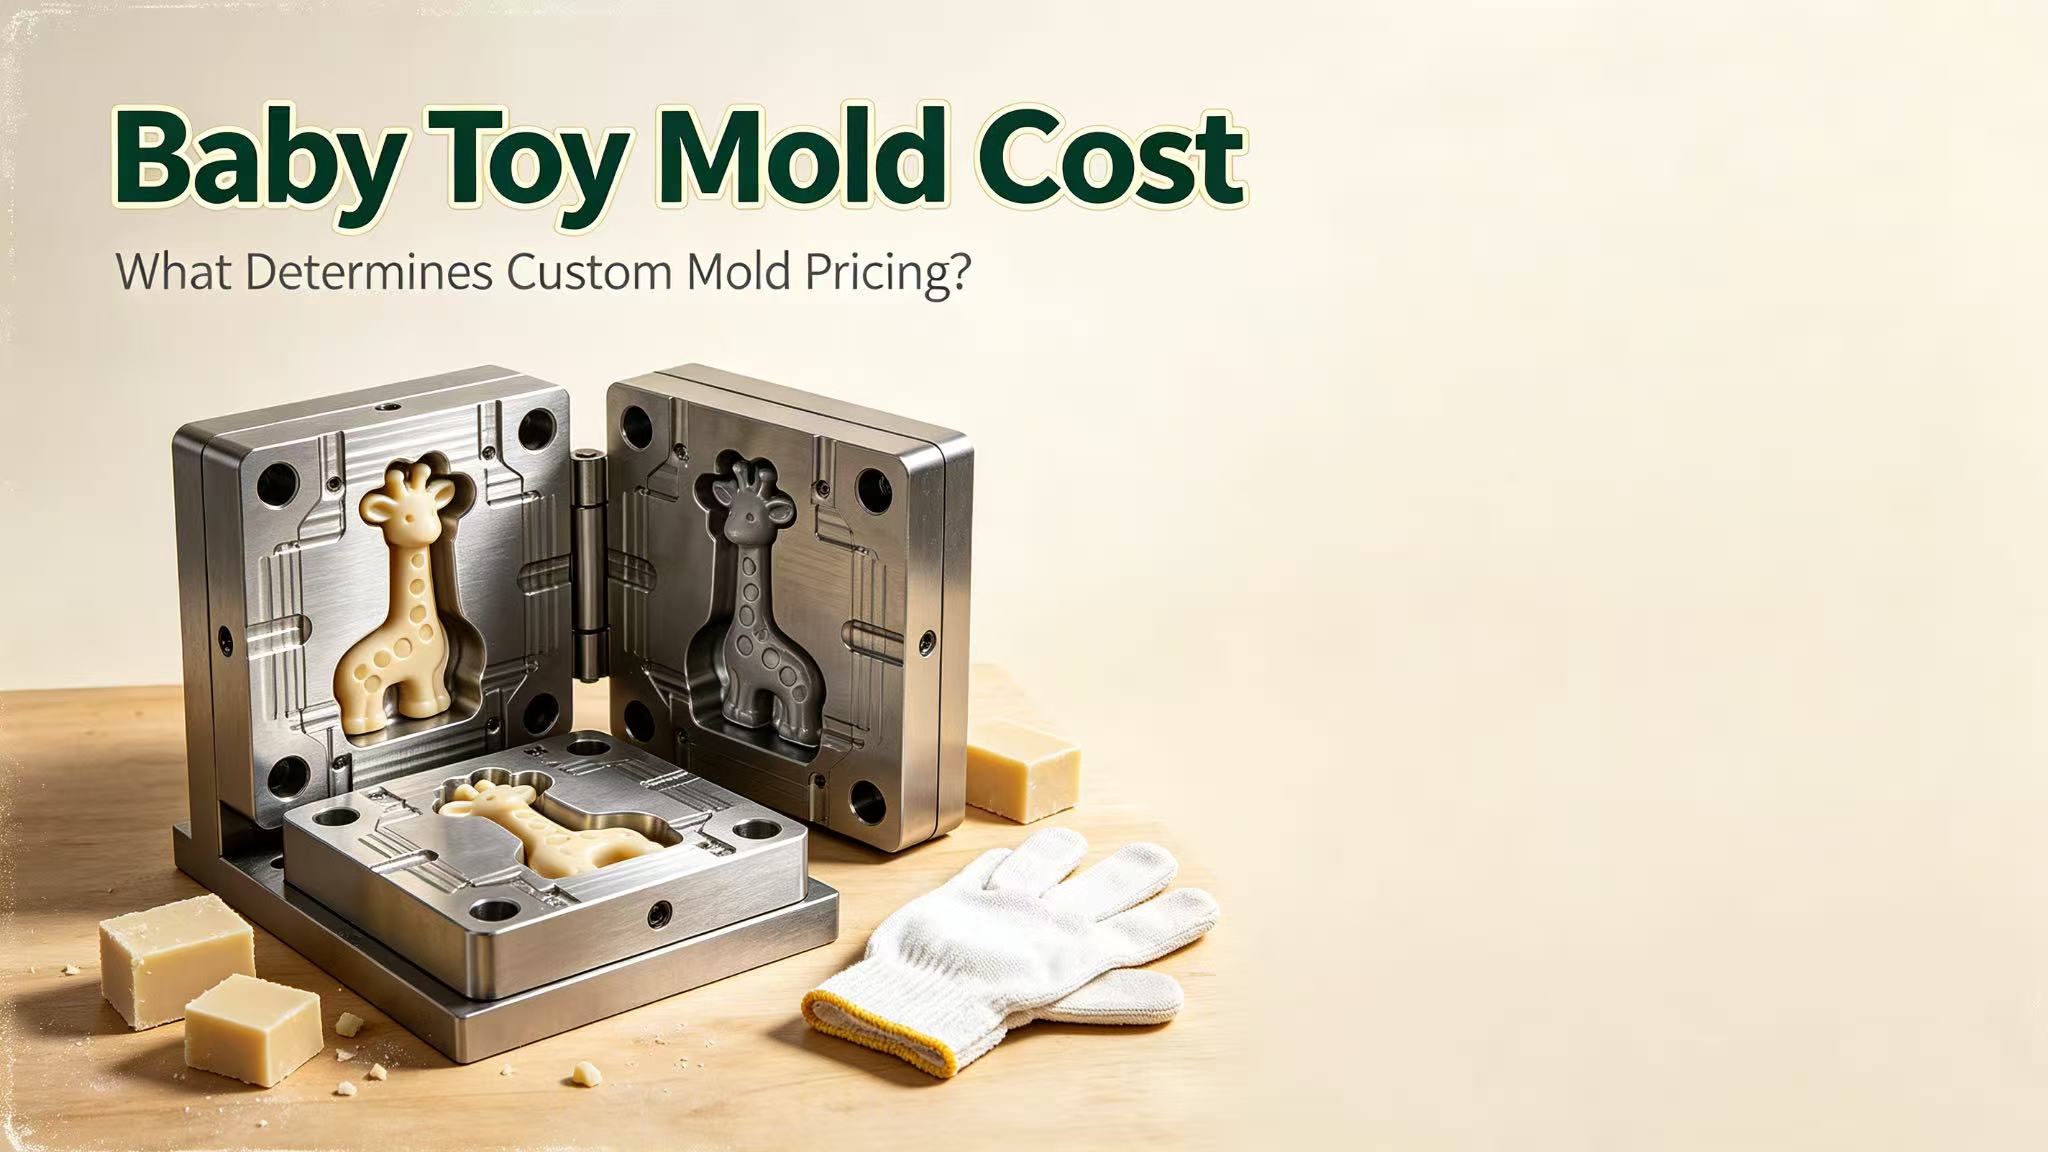
The mold is where your digital idea becomes a physical production tool. For natural rubber baby toys, molds are typically CNC-machined from aluminum or P20 steel. Aluminum molds are faster and cheaper to make — good for lower volumes and pilot runs. Steel molds last longer and hold finer detail — better for high-volume production and complex textures.
Mold cost depends on size, complexity, cavity count, and material. A simple single-cavity aluminum mold for a small teether might start around $1,500. A multi-cavity steel mold for a complex bath toy with detailed surface texture can run $3,000–$8,000 or more. Cavity count matters: an 8-cavity mold produces 8 toys per cycle, which dramatically increases output but also increases mold cost.
For dipped latex products specifically, the mold design includes the dipping form and any texture surfaces. The mold must be polished to a smooth, safe finish — any roughness or flash on the mold surface transfers to the toy and can create sharp edges, which is a serious safety issue for baby products.
Prototype
Before committing to mass production, you need a prototype — the first physical version of your toy made from the actual mold and material. Prototypes reveal problems that 3D models cannot: how the latex flows into complex mold areas, whether the texture comes out as intended, how the toy feels in hand, whether the weight and balance are right, and whether demolding causes tearing or deformation.
This is the iteration stage. You might find the wall is too thin and the toy tears. You might find the texture is too aggressive for a baby's gums. You might find the shape does not sit right in a small hand. Each adjustment may require a mold modification, which adds time and cost — but catching these issues now is far cheaper than catching them after 5,000 units have been produced.
Sample
Once the prototype is approved and any mold adjustments are made, the factory produces a pre-production sample — sometimes called a golden sample. This sample represents exactly what mass production will look like: correct material, correct color, correct texture, correct logo application, correct packaging.
You approve the golden sample in writing, and it becomes the quality benchmark for the entire production run. Every unit in mass production should match this sample. If anything changes — color drift, texture variation, logo misalignment — it is measured against the golden sample. This is your quality control reference point, and it is worth taking the time to get it exactly right.
Testing
Baby toys are among the most heavily regulated consumer products in the world. Before mass production — and often again on production batches — your custom natural rubber baby toys must pass third-party safety testing.
For the US market, this means ASTM F963 (toy safety standard) and CPSIA compliance (lead, phthalates, tracking labels). For the EU market, it means EN71 (parts 1, 2, and 3 covering physical/mechanical, flammability, and chemical migration). Depending on your target market, you may also need FDA food-contact compliance for toys that go in the mouth, and REACH compliance for the EU.
Third-party lab testing typically costs $300–$800+ per test round, depending on scope and number of materials and colors tested. Testing is a fixed cost — it costs the same whether you test 100 units or 5,000 — so it is a significant factor in your minimum order quantity. Change a material, color, or supplier and you will likely need to retest.
Packaging
Packaging is the final customization step before mass production, and it is often where brands underestimate both cost and timeline. Custom retail packaging — printed boxes, hang tags, insert cards, barcode labels — has its own minimum print runs, often set by the packaging supplier rather than the toy factory.
For custom natural rubber baby toys, common packaging options include: individual poly bags with header cards (lowest cost), printed retail boxes (mid cost, best for shelf presence), and custom rigid boxes with inserts (highest cost, premium positioning). You will also need compliance labeling: age grading, choking hazard warnings, manufacturer information, tracking labels (CPSIA), and CE marking (EU).
Plan packaging early. A custom die-cut box for an unusual toy shape can take 2–3 weeks to produce and has a high minimum print run. Many brands run their first order with simple packaging and upgrade once the product proves itself.
Mass Production
With the golden sample approved, testing passed, and packaging ready, mass production begins. For natural rubber baby toys, the production line follows a specific sequence.
Raw latex compound is prepared and filtered. Molds are cleaned and sterilized. For dipped molding, the molds are repeatedly dipped into the latex mixture to build up a uniform, elastic coating, then air-dried briefly. The molded latex goes into a vulcanization oven at 120–140°C for 20–30 minutes, which cures the rubber and locks in durability and elasticity. After cooling, toys are demolded, trimmed of excess flash along parting lines, inspected, and cleaned with food-grade disinfectant.
Quality control runs throughout production: dimensional checks, visual inspection for defects, texture verification, and batch testing. A well-run factory with in-house mold making, dipping lines, and QC can produce thousands of units per week. We are a natural rubber toy manufacturer with exactly this setup — 5,000㎡ of production space in Dongguan, in-house tooling, and ISO9000, BSCI, and FDA certifications.
Quality control happens at three stages. Incoming quality control (IQC) checks raw latex compound, pigments, and packaging materials before they enter production. In-process quality control (IPQC) inspects toys at each production stage — after dipping, after vulcanization, after trimming — catching defects before they multiply across thousands of units. Outgoing quality control (OQC) does a final inspection on finished, packaged goods before shipment, including AQL sampling to statistical standards. A factory that skips IPQC and only checks finished goods will let defects through that could have been caught at a fraction of the cost.
What You Can Customize
Custom natural rubber baby toys are not limited to shape. At almost every stage of production, you have choices that make the product uniquely yours. Here is what you can customize, and what each choice costs in time and money.
Custom Shape
Shape is the most visible customization and the one that most often requires a fully custom mold. You can create any animal, character, object, or abstract form — giraffes, ducks, sea lions, cars, rings, balls, stacking toys. The only constraints are safety (no small detachable parts for under-3s, appropriate size for mouth contact) and manufacturability (undercuts and extreme overhangs complicate demolding).
A custom shape means a custom mold, which means higher upfront cost and longer lead time — but it also means a product no competitor can copy, because you own the tooling.
Custom Texture
Texture is what makes a natural rubber toy feel distinct, and it is a powerful developmental tool. Raised textures massage gums during teething. Varied surface patterns stimulate tactile exploration. Smooth areas provide comfort. You can specify texture patterns across different zones of the toy — for example, a soft smooth body with raised nubs on the handles for chewing.
Texture is created on the mold surface, so it is part of the mold making process. Complex textures increase mold cost but do not necessarily increase per-unit production cost. Our textured natural latex sensory ball is a good example of how custom texture patterns create a distinct tactile experience.
Custom Color
Natural rubber toys can be colored using food-grade, non-toxic pigments extracted from natural minerals and plants. You can match your brand's Pantone colors, create pastel palettes, or use the natural off-white and cream color of uncolored latex. Each color is a separate compound batch, so adding more colors increases material setup and may increase testing requirements (each color may need separate chemical migration testing).
For first orders, many brands limit to 2–3 colors to keep setup and testing manageable. Our organic natural latex teethers show how custom colors — soft yellows, natural creams, warm tones — create a distinct brand look while staying within food-safe pigment ranges.
Custom Logo
Your logo can be applied to natural rubber baby toys in several ways. Embossing raises or recesses the logo into the mold surface, creating a permanent 3D logo with no ink and no wear. Pad printing transfers ink via a silicone pad onto the toy surface, which works well for multi-color logos. Debossing creates a recessed logo that can be left natural or filled with color.
Embossing is the most popular for baby toys because it is permanent, contains no additional chemicals, and cannot wear off from chewing. It does require the logo to be part of the mold design, so it must be specified before mold making. Pad printing is added after production and can be applied to existing molds, but it is less durable under repeated chewing and washing.
Custom Packaging
Packaging is where your brand identity comes to life at retail. You can customize box shape and size, print artwork, hang tag design, insert cards, header cards for poly bags, and compliance labeling. Custom packaging has its own MOQ (often 500–1,000 units minimum from the packaging supplier), and custom die-cut shapes have higher setup costs.
For e-commerce brands, simple poly bags with printed header cards are often sufficient and keep costs low. For retail shelf presence, printed color boxes with window cutouts (to show the toy) are standard. Plan your packaging alongside your product design, not after — the box dimensions depend on the toy dimensions, and compliance labeling requirements vary by market.
Timeline and Cost at a Glance
Every custom project is different, but the table below gives you realistic planning figures for a fully custom OEM natural rubber baby toy. ODM projects using existing molds move faster and cost less upfront.
| Step | Typical duration | Typical cost |
|---|---|---|
| Product Idea & Design | 2–4 weeks | Design fees (if external) |
| Material specification | Included in design | Affects unit cost |
| 3D Model | 1–2 weeks | Included in mold fee or separate |
| Mold making | 2–3 weeks | $1,500–$8,000+ |
| Prototype | 1–2 weeks | Included or small fee |
| Sample approval | 5–10 days | Included |
| Testing | 1–2 weeks | $300–$800+ per round |
| Packaging | 1–3 weeks | $200–$2,000+ depending on complexity |
| Mass production | 15–25 days | Per-unit cost (volume-dependent) |
| Shipping (sea freight) | 25–35 days | Freight + duties |
Total: approximately 12–18 weeks from design start to delivery for a fully custom OEM natural rubber baby toy. ODM projects with existing molds can be faster — typically 6–10 weeks.
Frequently Asked Questions
How long does custom production for natural rubber baby toys take?
A fully custom OEM natural rubber baby toy takes approximately 12–18 weeks from design finalization to delivery, including mold making, prototyping, testing, production, and sea freight. Using an existing ODM mold with custom branding drops the timeline to roughly 6–10 weeks.
What is the MOQ for custom natural rubber baby toys?
MOQ depends on who owns the mold. If you pay for a custom mold (OEM), the factory can sometimes run smaller initial batches — sometimes 500 units — because the tooling cost is already recovered. If the factory owns the mold (ODM), MOQ is typically 300–1,000 units. Complex designs with multiple colors and custom packaging tend toward the higher end.
Can I customize an existing design instead of starting from scratch?
Yes. ODM production lets you select an existing factory design and customize color, logo, and packaging without paying for a new mold. This is the fastest and lowest-cost path to a custom-branded product, and it is the right choice for most first-time launches. Our OEM vs ODM guide explains when each approach makes sense.
What safety standards do custom natural rubber baby toys need?
US market: ASTM F963 and CPSIA. EU market: EN71 (parts 1–3) and CE marking. For mouth-contact toys: FDA food-contact compliance. You may also need REACH (EU chemical regulation) and country-specific labeling requirements.
How much does a custom mold for baby toys cost?
A simple single-cavity aluminum mold starts around $1,500. A multi-cavity steel mold with complex texture can run $3,000–$8,000 or more. Mold cost is a one-time upfront investment, and you own the tooling.
Conclusion
Custom natural rubber baby toys are not a single decision — they are a sequence of decisions, each one shaping your cost, your timeline, and your final product. From the initial product idea through design, material, 3D modeling, mold making, prototyping, sampling, testing, packaging, and mass production, every step has levers you can pull to balance customization against budget and speed.
The brands that succeed are the ones that understand this process before they start. They know when to invest in a custom mold and when to use ODM. They know which customizations add real value and which add cost without benefit. And they plan for testing and packaging as part of the timeline, not afterthoughts.
If you have a product idea and want to understand what it would take to bring it to life, send us your concept, target age range, and expected volume. We will walk you through each step, give you real numbers for mold cost and per-unit pricing, and help you decide whether OEM or ODM is the right path for your brand.
Baby Toy Mold Cost: What Determines Custom Mold Pricing?
Baby Toy MOQ Explained: What Determines Minimum Order Quantity?