Baby Toy Mold Cost: What Determines Custom Mold Pricing?
Ask any brand that has launched a custom baby toy what their biggest upfront surprise was, and most will say the same thing: baby toy mold cost. The per-piece price looked fine on paper. The tooling line on the invoice, less so.
That is not because factories are padding their quotes. It is because a mold is precision engineering. Every cavity has to be machined to a tolerance that keeps a teether comfortable in a baby's mouth, a bath toy watertight, and every surface smooth enough to pass inspection under a magnifying lamp. You are paying for that precision once, up front, and the real question is how well you understand what drives it.
This guide breaks down the factors that determine custom mold pricing for natural rubber baby toys — mold type, product size, product complexity, cavities, material, prototype, mold life, and production volume — and then walks you through a strategy that genuinely lowers your development cost: mold sharing.
Mold Type: The First Fork in Your Price
Before any number gets quoted, the factory has to decide how your toy will be formed. For natural rubber baby toys, that choice usually comes down to two very different routes, and they carry very different tooling costs.
Compression Molding
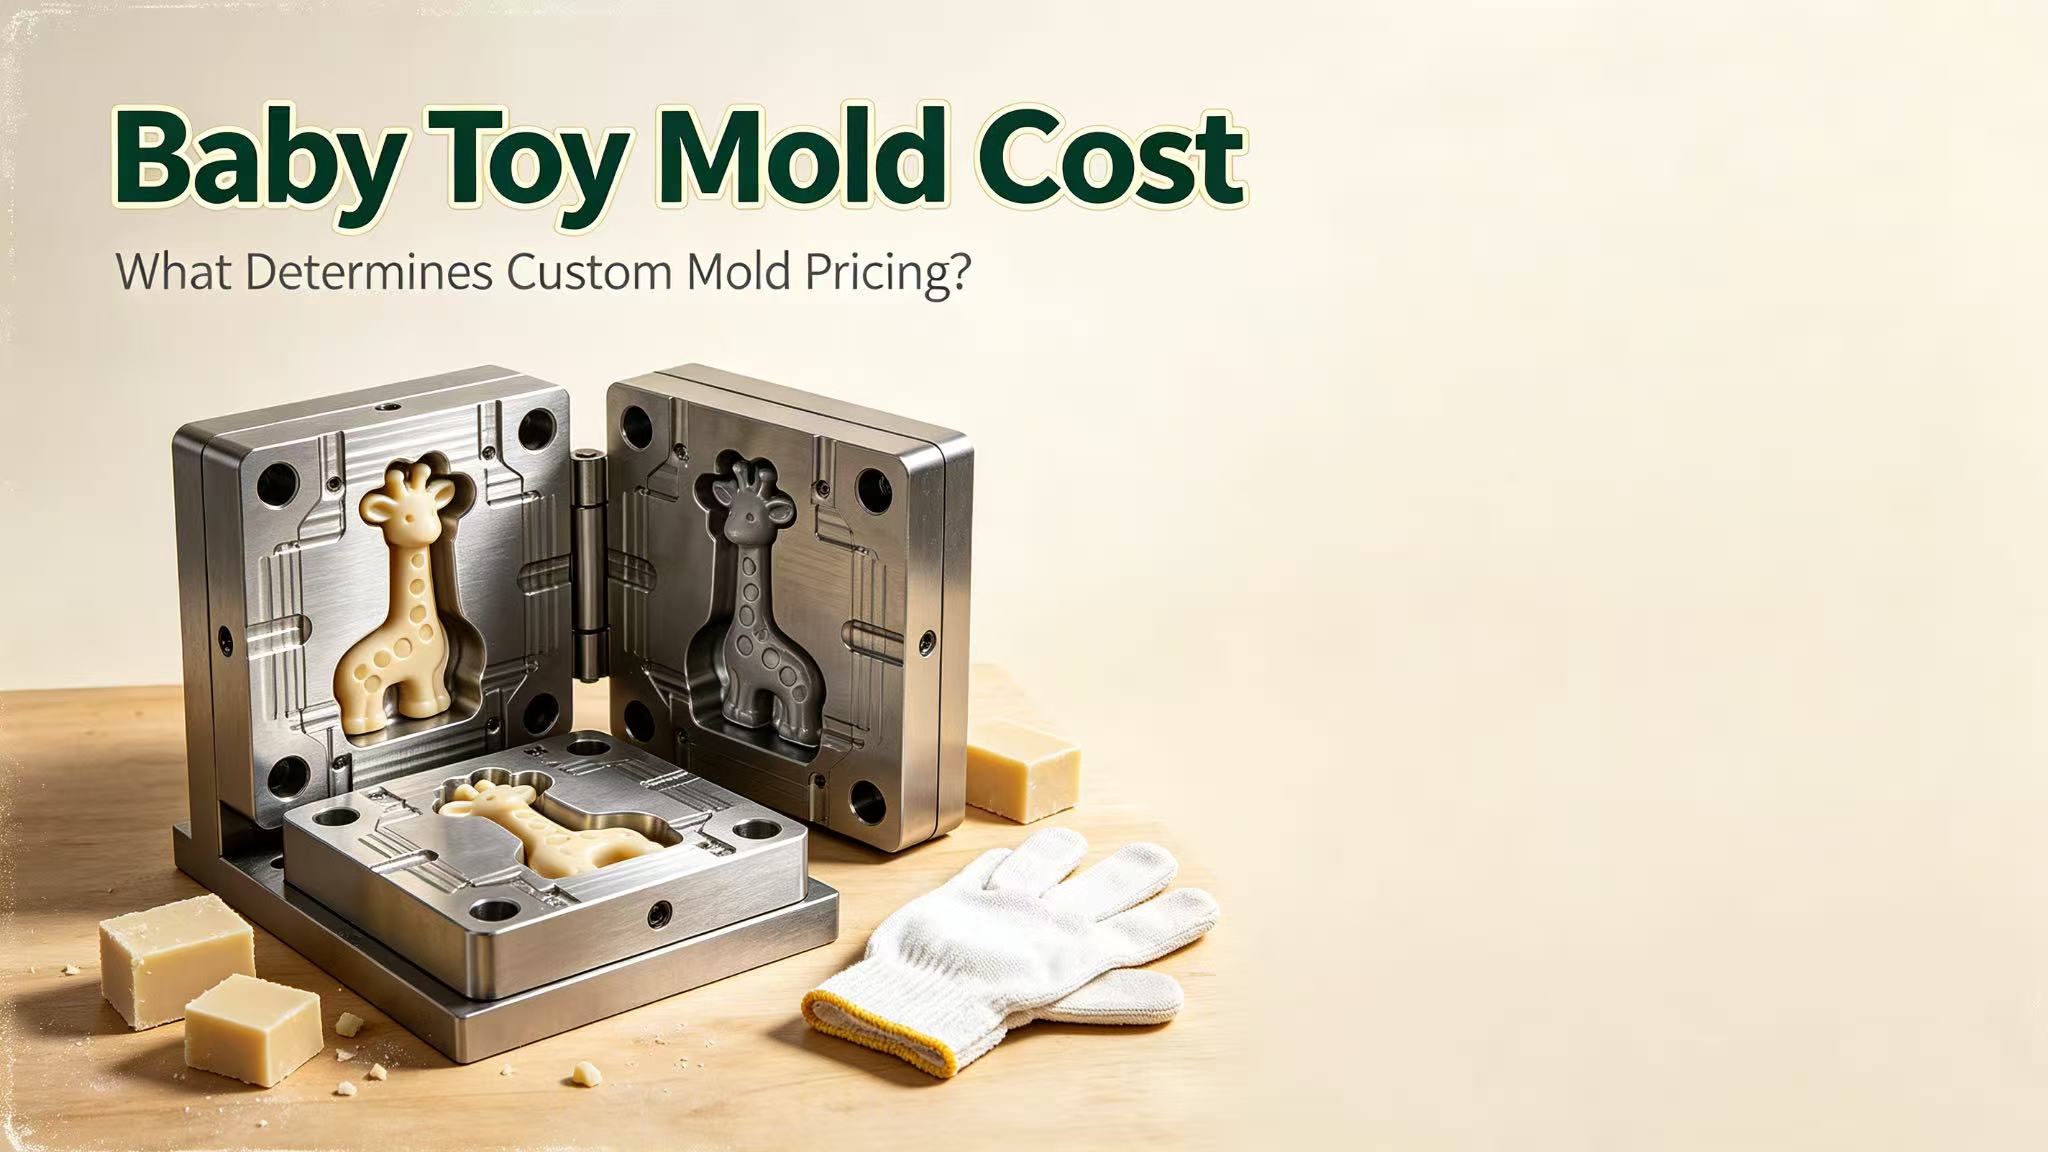
Solid toys — teethers, sensory balls, chew rings — are typically made by compression molding. A pre-cut piece of compounded natural rubber is placed into a heated steel mold, the press closes, and heat and pressure cure the rubber into shape. The mold itself is a steel block split into two or more halves, with the product cavity machined into the parting line. These molds are the workhorses of the teether industry: they are durable, they hold fine detail, and a well-made steel compression mold can survive hundreds of thousands of cycles.
Latex Dipping
Hollow items such as bath toys and pacifiers are often produced by latex dipping, where a ceramic or steel former (the mandrel) is dipped into liquid latex compound and then cured. The "mold" here is the former, and the cost story is different — formers are generally cheaper per unit than a machined steel cavity, but they are part of a longer, more delicate process line. If your design is hollow and flexible, expect the pricing conversation to start with formers rather than compression tooling.
Which type applies to your product changes the entire cost baseline. That is why a useful question to ask any supplier is not "how much is the mold?" but "what molding process does this design use?" — because that single answer sets the range of every number that follows.
Product Size: Bigger Toy, Bigger Steel
Mold cost scales with the physical footprint of the toy. A palm-sized teether might sit comfortably in a mold block that fits in a shoebox. A larger bath toy or an activity ball needs a bigger block, more steel, a larger press, and more floor space in the tool room. Every extra centimeter of cavity depth adds machining time and material.
The relationship is not perfectly linear — a 20% larger toy might push tooling up by 30–40% once you account for the beefier frame and the larger press hour allocation. But the direction is reliable: keep the overall dimensions as tight as your design allows, and your custom mold pricing will thank you.
Product Complexity: Where Detail Gets Expensive
This is the factor where most first-time brands accidentally spend money. Complexity does not mean "detailed" in a design sense — it means geometry that is hard to machine and hard to release.
A few things that quietly raise mold cost:
- Undercuts. Any feature that locks the cured part into the cavity — a small lip, an inner curve, a closed handle loop — forces the mold to use sliders, lifters, or side cores. Each moving component adds machining and assembly hours.
- Deep texture. The little grippy bumps on a sensory ball look simple, but engraving a uniform texture across a curved cavity face is slow work, and reproducing it identically across every cavity takes care and time.
- Multiple parting lines. Toys that need two or more split directions multiply the number of mold plates and the alignment work.
- Fine detail on the parting edge. A clean, invisible seam on a teether requires the two mold halves to meet almost perfectly — which means extra finishing passes.
None of this means you should avoid interesting designs. It means you should know that every undercut and texture has a price tag attached, and it is worth asking your engineer which features add real value for babies and which are costing you money without adding play value.
Cavities: The Balancing Act That Sets Your Per-Piece Price
A cavity is a single product-shaped space inside the mold. A one-cavity mold makes one toy per cycle; a four-cavity mold makes four. Cavity count is the single most direct lever on both baby toy mold cost and your unit price, and it pulls in two opposite directions at once.
More cavities mean a more expensive mold — each cavity is a separate machined space, so a 4-cavity tool costs meaningfully more than a 2-cavity tool. But more cavities also mean more toys per production hour, which lowers the per-piece manufacturing cost. The economic question is whether your order volume justifies the extra tooling spend.
Here is the practical pattern we see with natural rubber baby toys:
- Low volume / market testing — 1–2 cavities. Lowest mold investment, slower per-unit production, fine for 2,000–5,000 pieces.
- Mid volume / growing brand — 4–6 cavities. A good balance for 10,000–50,000 pieces per year.
- High volume / retail scale — 8 cavities or more. Highest tooling cost, but the per-piece saving compounds fast at 100,000+ pieces.
There is no universal "right" number — there is only the number that matches your demand forecast. A good factory will model both scenarios for you rather than pushing you to the biggest tool you can afford.
Mold Material: Steel Grades, Aluminum, and Food-Contact Reality
The steel you build the mold from is another chunk of the bill. Not all steel is equal, and for baby products the material choice carries a safety dimension as well as a cost one.
Common options you will hear quoted:
- P20 pre-hardened steel. The budget-friendly standard. It machines well, and for moderate production runs it is perfectly adequate.
- H13 / tool steel. Harder, more abrasion-resistant, and better for high-volume or highly textured cavities. Costs more, lasts longer.
- Stainless / S136-grade steel. Resists corrosion and cleans up well between batches — relevant for anything in repeated contact with baby mouths, where hygiene and residue-free surfaces matter.
- Aluminum. Cheap and fast to machine, and a common choice for prototype or low-run tooling. It wears faster than steel, so it is rarely the right call for high-volume production.
Because these are natural rubber baby toys — products that sit in a child's mouth — any reputable supplier will also keep the wider compliance picture in view. Tooling that supports FDA 21 CFR 177.2600 (rubber articles intended for repeated use), ASTM F963 in the US market, and EN71 in Europe is not a separate line item, but the mold's surface finish and cleanability directly affect your ability to pass those tests batch after batch. A slightly higher-grade steel that keeps your cavities consistent and easy to sanitize can quietly save you re-testing costs later.
Prototype: Spending a Little to Save a Lot
The smartest way to control custom mold pricing is to fix your design before you commit to production tooling. This is where the prototype stage earns its keep.
Your development path typically looks like this: product idea, design, material selection, 3D modeling, then a prototype. For a natural rubber toy, the prototype itself is usually made with soft tooling — a silicone or resin mold cast from the 3D-printed master. It is cheap, it is fast, and it lets you test shape, size, texture, and how the toy feels in a small hand before you machine anything in steel.
We covered the full journey from idea to mass production — including where prototyping fits and how many sample rounds to budget for — in our guide to custom natural rubber baby toys. The short version: catching one ergonomic problem at the prototype stage costs a few hundred dollars and a couple of weeks. Catching the same problem after the steel mold is cut costs thousands and several more weeks.
Every design change after tooling starts is expensive. The prototype is the cheapest insurance policy in the entire development cycle.
Mold Life: What You Are Actually Buying
When you pay for a mold, part of what you are buying is durability. Mold life — the number of production cycles a tool can deliver before it needs major maintenance or replacement — is a real component of the price.
A steel compression mold for natural rubber can realistically deliver well into six figures of cycles when it is run within its designed temperature and pressure window. Aluminum tooling, by contrast, is measured in far fewer cycles. If you are planning a one-season product, a cheaper, shorter-life tool might be the rational choice. If you are building a line you intend to sell for years, the higher-grade steel pays for itself.
Worth asking your supplier: what is the expected mold life in cycles, what maintenance does it need (re-polishing cavities, replacing worn inserts), and what happens when it eventually wears out? The answer tells you whether you are buying a one-project tool or a long-term asset.
Production Volume: The Number That Justifies the Mold
Here is the honest framing every brand should hear: a mold is not really an expense. It is a fixed cost that gets spread across every piece you produce. The more you produce, the smaller the mold's share of each unit's cost — and the more sense a higher-spec, higher-cavity tool makes.
Run the math for a $6,000 mold:
- Spread over 3,000 pieces: $2.00 per piece
- Spread over 10,000 pieces: $0.60 per piece
- Spread over 50,000 pieces: $0.12 per piece
This is also why MOQ and mold cost are impossible to separate. Your minimum order quantity exists in large part to make the tooling economically sensible for both you and the factory. If you are testing a market with small initial orders, the mold will dominate your per-piece cost — which is exactly the situation that makes mold sharing attractive, and which we dig into below. For a fuller look at how MOQs are built and negotiated, our explainer on baby toy MOQ covers the practical side.
How Mold Sharing Can Reduce Development Cost
Now the part most factories do not volunteer: the mold does not have to belong entirely to you.
Mold sharing — sometimes called shared tooling or pooled molds — is a simple idea with big consequences for development cost. A factory builds one high-quality mold and runs multiple brands' products through it, with each brand using the same base shape but differentiating through color, texture, logo, or packaging. The tooling cost is effectively spread across several development partners instead of falling on a single new brand.
How it typically works in practice:
- Shared base shapes. A factory maintains a library of proven, safety-tested toy shapes — classic ducks, teethers, sensory balls. You pick a base, and the only tooling work is your customization: your color, your logo placement, sometimes a texture variation.
- You pay for customization, not the whole tool. Instead of a full custom mold quote, you pay for the incremental work on an existing mold, or a low-cost insert that carries your branding.
- Same compliance, lower entry cost. Because the base shape has already been produced and tested, you skip a large part of the trial-and-error that drives tooling and sampling costs up.
- Shared cavity capacity. If the factory runs several brands on the same mold, your per-cycle share of the machine time also drops.
The result can be dramatic. A brand that would have faced a $5,000–$15,000 custom tooling bill can sometimes enter with a few hundred to a couple of thousand dollars of customization work on a shared mold. That is the difference between "I cannot afford to launch" and "I can test the market this quarter."
Mold sharing is not right for every product — if you need a truly unique shape as your core differentiator, you will want your own tool. But for brands testing the water, extending an existing line, or launching a private-label version of a proven style, it is often the most underused cost lever in the industry. It is also the natural partner to the OEM baby toys model, where the factory's existing tooling and process experience do a lot of the heavy lifting for you.
A Realistic Picture of Mold Budgets
Every quote is different, and anyone who gives you a precise number without seeing your design is guessing. But a realistic range helps you sanity-check any quote you receive. These are indicative figures for natural rubber baby toys from mid-tier Chinese manufacturers:
| Mold scenario | Typical range | When it fits |
|---|---|---|
| Prototype / soft tooling | $300 – $1,500 | Design validation before production tooling |
| Single-cavity steel compression mold | $1,500 – $4,000 | Low volume, market testing |
| 2–4 cavity production mold | $3,000 – $10,000 | Mid-volume, growing brand |
| 6–8 cavity high-volume mold | $10,000 – $25,000+ | Retail-scale production runs |
| Complex design (undercuts, multi-part) | +30–60% on the base range | Multi-direction geometry |
| Shared / customization-only tooling | Often under $2,000 | Mold sharing on existing shapes |
Notice the pattern: the biggest lever on your baby toy mold cost is rarely the factory. It is your own planning — how early you lock the design, how honestly you forecast volume, and whether you are willing to start with a shared or lower-cavity tool and scale up later.
Questions to Ask Before You Commit to a Mold
A few targeted questions can save you from a bad tooling decision. Put these to any supplier before you sign:
- What molding process does this design use, and why?
- How many cavities do you recommend for my forecast — and can you show the per-piece math at each count?
- What steel grade is the mold, and what mold life in cycles does it guarantee?
- What does the prototype stage cost, and how many sample rounds are included?
- Do you have existing shapes I could start with — what is your mold-sharing or customization-only option?
- Which cavities carry my logo or texture, and how is branding handled on a shared mold?
- How do you document material traceability and testing for FDA 21 CFR 177.2600, ASTM F963, and EN71 compliance?
- Is the factory ISO 9001 certified, and are social audits such as BSCI or SMETA in place?
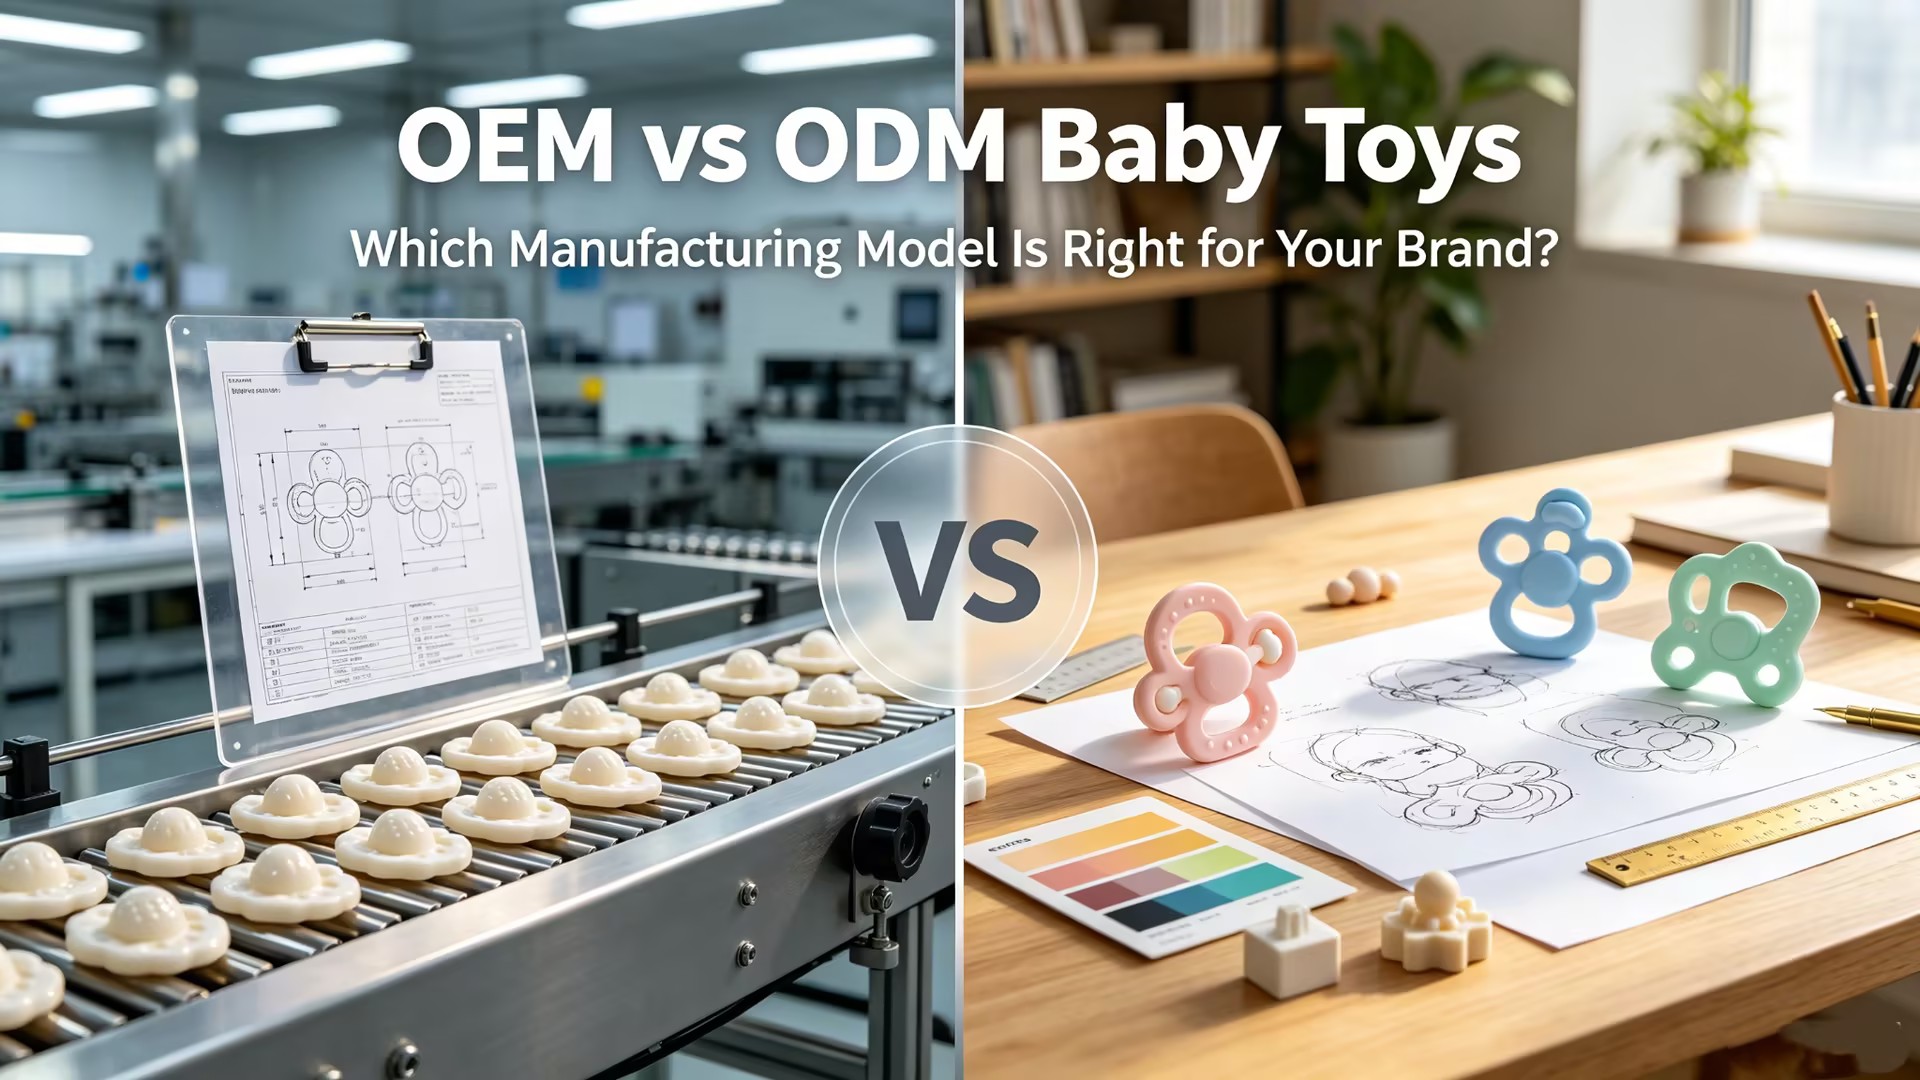
If you are new to the process, it helps to read up on what to look for in a partner before you get to pricing — our guide to OEM vs ODM baby toys explains how the two manufacturing models change who owns the mold and the design, which directly affects your tooling bill.
Frequently Asked Questions
How much does a baby toy mold cost?
A single-cavity steel compression mold for a natural rubber teether typically runs $1,500–$4,000. Multi-cavity production molds range from $3,000 to $25,000+, and prototype soft tooling usually costs $300–$1,500. The final number depends on mold type, size, complexity, and cavity count.
Why are molds for baby toys so expensive?
Baby toy molds are precision-machined to keep every surface smooth, safe, and consistent for products that go in a child's mouth. Tight tolerances, fine textures, food-contact-grade steel, and compliance support all add machining and finishing time that drives up cost.
Can I reduce my mold cost as a new brand?
Yes. The fastest route is mold sharing — starting from a factory's existing, safety-tested shape and paying only for color, logo, and texture customization. Fixing your design before tooling, and matching cavity count to realistic volume, also cuts cost significantly.
What is mold sharing in baby toy manufacturing?
Mold sharing means multiple brands produce from the same base mold, each differentiating through color, texture, or logo. The tooling cost is shared across partners, so a new brand can enter with a small customization fee instead of a full custom mold investment.
Does the mold cost per piece or one time?
A mold is a one-time tooling cost, paid once when it is built. It is then amortized across your production volume — the more pieces you produce, the smaller each piece's share of the mold cost becomes.
Get a Mold Cost Estimate for Your Toy
Tell us your product idea and target volume, and we will walk you through the tooling options — including which of our proven shapes you could start with today.
Request a Custom Quote
Custom Natural Rubber Baby Toys: From Product Idea to Mass Production
Related Article